Hey, Curlies!
Lately I’ve been experimenting with tinctures after a friend from Ezra’s Enlightened Cafe gave me a bottle featuring elderberry. You can find more about that HERE. Anyway, this journey led me down the road of infused oils.
Oil infusions are practically base oils with herbs steeped into them. There are several reasons why you’ll want to use and how you can incorporate these oils into your natural hair and plant-based skincare routines.
Oil infusions:
- Can be a lot less expensive to make as opposed to buying them already made
- This is a DIY experience so you get to customize your infusion based on your hair and skin’s needs
- You’ll know exactly what’s in your beauty item – because you made it!

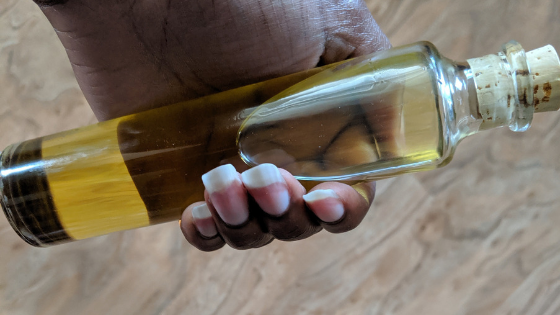
This was the very first oil infusion I made. I decided to keep it simple considering it was my first time. It included a base of olive oil and then I used dried lavender. For the record, I did create another infusion with an olive oil base and moringa infused, but I accidentally pitched it! (oops!) I plan to remake that and let you know how it turns out.
How can you use oil infusions?
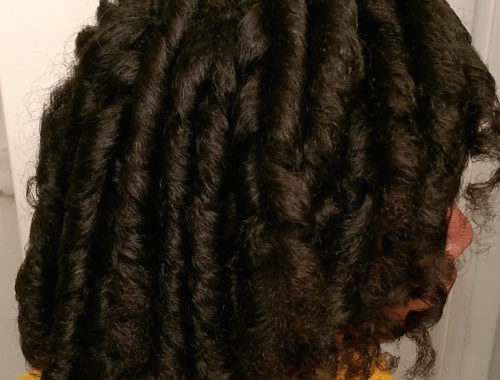
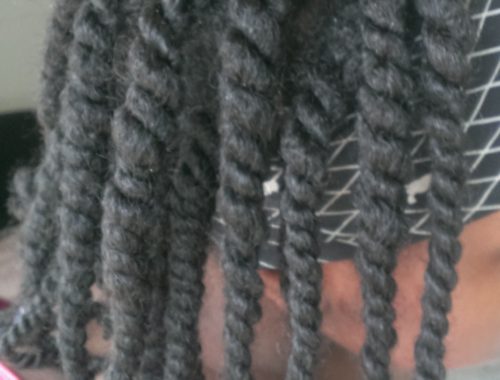
I use the infusions to seal the moisture in my hair mostly. This keeps my hair from drying out and adds a nice, natural sheen. A few drops of the oil could also be used in your bath water for softer skin. It’s also great for adding moisture to your skin right after showering. In a previous post, I mentioned how I haven’t used traditional lotion in years because I’ve found so many other healthy alternatives.
Haven’t tried our DIY beauty box yet? Use code GRATITUDE for 20% off!

How to make an oil infusion
Making these power oils are super easy, though they do take some patience. Actually, six weeks worth of patience. Here’s how it’s done:
- Grab a medium to large jar and lid – I prefer mason jars
- Gather enough of your favorite dried herb(s) to fill your jar – yes, you can add more than one!
- Get enough of a base oil to fill the jar
If you’re wondering what kind of dried herbs you can use, here are a few suggestions:
- Lavender – for relaxation and body acne
- Rosemary – for thinning hair and a shine boost
- Thyme – for hair strength
- Moringa – for hair strength (learn more about how I use moringa HERE)
- Holy basil (Tulsi) – for hair strength – has a GREAT scent
- Chamomile – for relaxation
- Rose – for inflamed skin and scalp
You can basically use any dried herb you have on hand! Just find which have the healing properties you’re looking for and infuse away!
You can also choose from several base oils. Here are a few common ones:
- Olive oil
- Grapeseed oil
- Coconut oil
- Jojoba oil
I would recommend choosing an oil based on its thickness and what you plan to use it for. For example, if you plan to use the oil on your face, I’d recommend you use a light oil like jojoba, grapeseed or rosehip. I would not recommend you use coconut oil if you have acne-prone skin.
Directions
- Tightly pack your herbs into the jar until it is full.
- Pour your base oil over the herbs and into the jar. Make sure to completely cover the herbs with the oil to prevent mold.
- Screw on the top and store the jar in a cool, dark place.
That’s it! Here is where the patience part comes in. You’ll want to shake the jar every other day to keep the infusion process going. Once the six weeks are up, strain your oil into another keepsake container and the process is complete!
Just a friendly reminder: Oil is not a moisturizer, it’s a sealant.
I’d love to hear all about your oil infusions! Leave your thoughts in the comments.

Sign up for the ClassyCurlies Mailing List