Hey Curlies,
I couldn’t wait to get my hair out of the puff and into the bantu knot style I’d been thinking about. I’d envisioned lots of shrinkage (yes, I was actually hoping for it this time lol) with very tight curls.
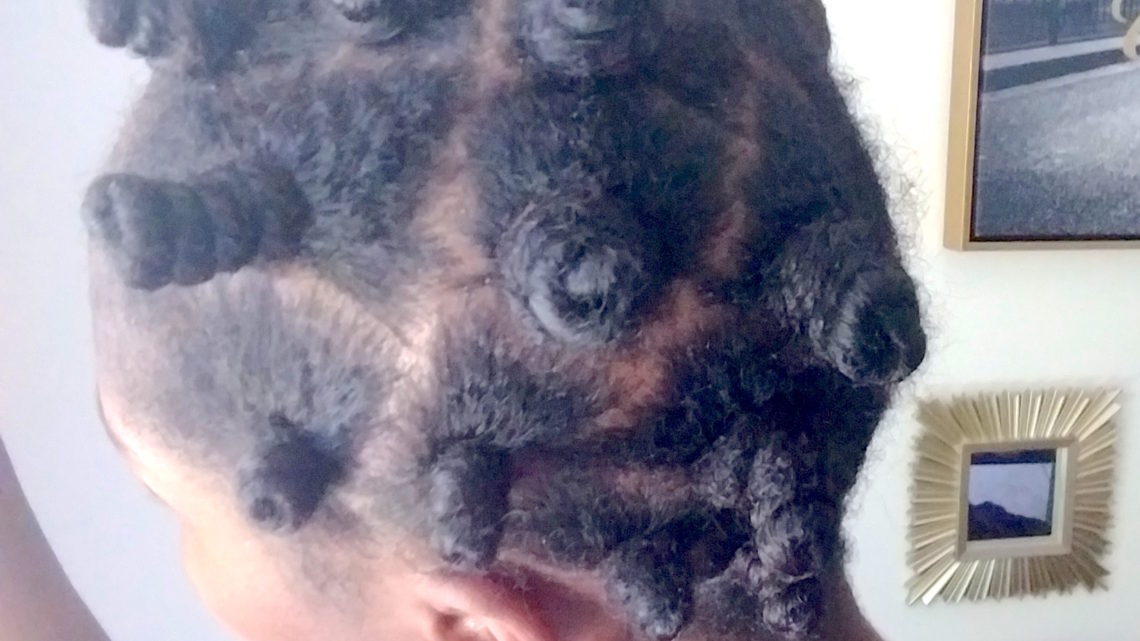
This time I did my knots a lot different than I normally do. Typically I create a two strand twist first, then create the Bantu knot like you can see here. This time I created a finger coil, then the knot.
The rule of thumb for perfect bantu knots on natural hair is to let them set for at least 24 hours (also never start on dripping wet hair. Damp hair is best.)
RELATED | How to Prevent Thinning Edges and Regrow your Hairline
How I created my bantu knots
 I started my wash day Saturday night by hoping in the shower and using Urbanaire Gypsy’s Cray Cray Clay Co-wash to wash/condition.
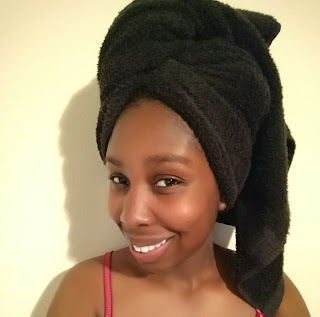
I then let my hair sit in the towel for an hour so I could start my knots on damp hair.
I knew I wanted lots of curls so I set out to create small Bantu knots. I created my section, sprayed a bit of rose water (you’ll learn more about this soon), detangled and applied WonderCurl’s Butter than Love Pudding before creating the knot. You can learn more about WonderCurl here.
I didn’t use a comb to create parts because I wanted them to show as less as possible once I took them down.
Here is how they turned out:
I knew I had plans on Sunday, and while it is appropriate to do go outside with Bantu knots, I wanted to have a little fun and experiment with a headwrap.
You can see how I tied my headwrap here.
RELATED | How to Prevent Thinning Edges and Regrow your Hairline | How to Straighten Natural Hair Without Heat Damage
Sign up for the ClassyCurlies Mailing List


[…] Natural Hair: Bantu Knot Out using WonderCurl […]