Hey Curlies,
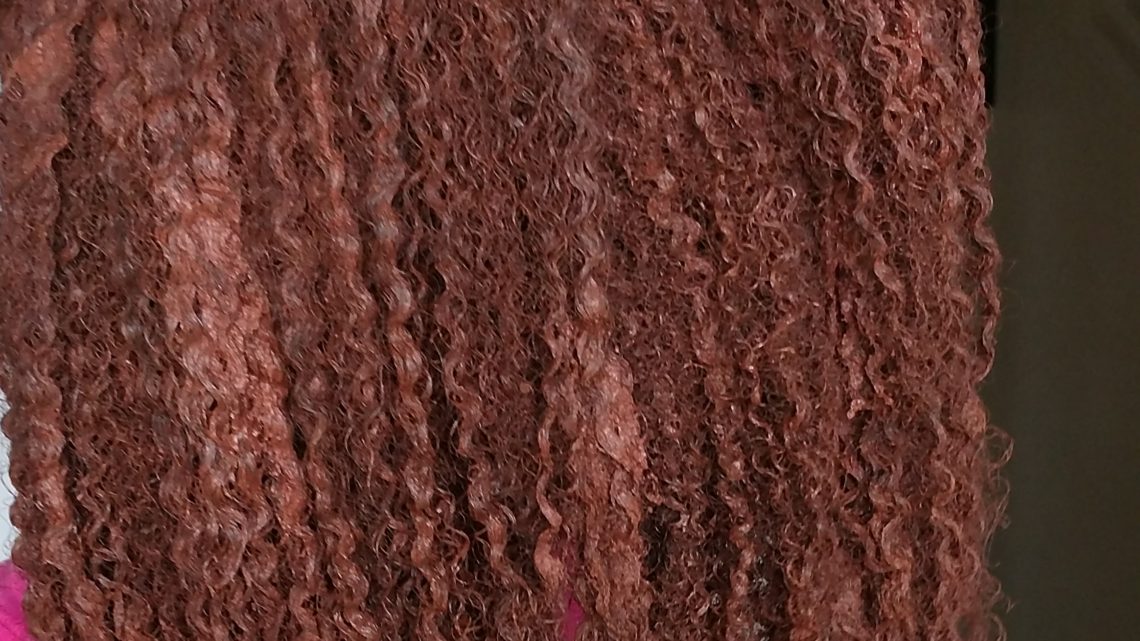
Around this time of year, everyone wants to play with hair color. You’ll likely see tons of orange, burgundy, and Auburn styles soon, but can you color your natural hair without damage? Yes.
I get asked all of the time if I’ll ever color my hair because it’s been the same all my life. Initially, I was worried about the damage that could be done to my hair from the dyes, ammonia, and chemicals used in the process. I later learned there are other alternatives.
Traditional hair colors you’ll find at the store contain harsh chemicals that can irritate your skin and scalp. In addition, they could be the cause of certain cancers, hair breakage and chemical burns.
If you’d rather not cause your body any harm, but have awesome hair, I’m sharing some hair color treatments. Keep in mind, none of these color treatments can be found packaged in the store. As you know, I love to DIY, so roll up your sleeves!
RELATED | Natural Hair Deep Conditioning: Clays that Treat, Restore Moisture, Detox
Here are four safe ways to add color to your look:
Henna
If it’s subtle shades of red, brown and black you’re looking for, henna may be your answer. Keep in mind, results depend on the inital color of hair when beginning the process.
Why this works
When applied, henna coats the hair shaft and binds to keratin. Henna contains Lawsone, a tannin dye molecule, in its leaves.
How it works
Mix 200g of Henna powder with hot water to form a yogurt-like consistency. Once mixed, cover the bowl with plastic wrap and allow to cool for a few minutes. Apply henna to hair thoroughly using gloves and then let sit with a plastic cap for 4-6 hours. Rinse with cool water and let hair dry. Results will last 4-6 weeks.
A note of warning: Henna application is extremely messy, so you’ll want to use gloves, wear clothes you don’t care for, and put down newspaper where you apply. You’ll also want to make sure you have real henna. If the brand promises shades other than red, brown or black, they are most likely filled with synthetic dyes.
Indigo
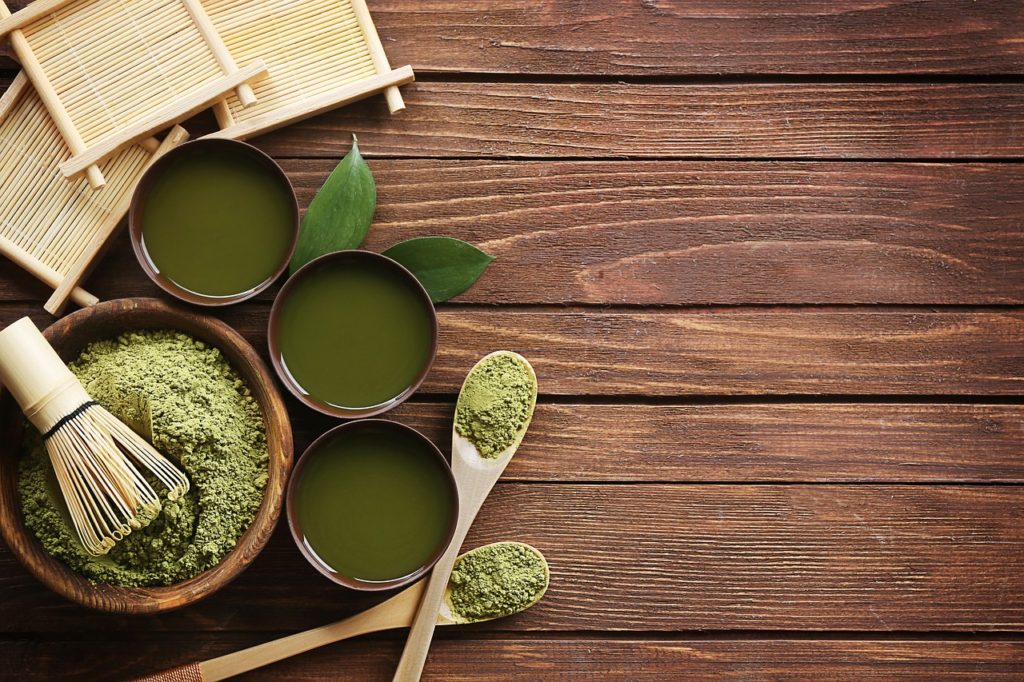
This all-natural Ayurvedic plant-based dye will help you achieve a black or blue hair color. The powder is made from the indigofera tinctoria plant that comes directly from the earth, so no worries about chemicals here.
A note of warning: You should see pure indigo powder release a blue dye when mixed with water. If you see only brown or black, the powder has been laced with chemicals. Do not use this as it is not pure indigo. Real indigo is blue and only turns black when mixed with henna.
Why this works
Also known as “black henna,” Indigo has a blue hue and is often used to dye jeans. If you’re not in the mood for blue hair, don’t worry – you’ll mix in a little henna as well. Without henna, you’ll get a blue/green tint.
How it works
Day 1
Mix 200g of Henna powder with hot water to form a yogurt-like consistency. Once mixed, cover the bowl with plastic wrap and allow to cool for a few minutes. Apply henna to hair thoroughly using gloves and then let sit with a plastic cap for 4-6 hours. Rinse with cool water and let hair dry.
Day 2
Next, create the same yogurt-like consistency using pure indigo powder. You’ll want 100g for every 6 inches of hair. Wash your hair with shampoo and conditioner to remove dirt.
Apply indigo to damp hair thoroughly using gloves and then let sit with a plastic cap for an hour. Rinse with cool water. It make take a few days for the indigo to oxidize and show its true color.
RELATED | Natural Hair: Cassia Auriculata for Hair (Review)
Black walnuts
Who knew the walnuts you found falling off the trees in your backyard could be used to dye your hair all shades of brown?
Why this works
The outer shell of the walnut – also called the hull – contains tannins that act as a stain for your hair.
How it works
You can use walnuts and crack them in half or use black walnut hull powder. Keep in mind that the walnuts stain everything – everything! Mix the powder with water to form a paste. I recommend using a color applicator bowl, brush and bottle to apply. Be sure to cover your sink and floors completely and use latex gloves.
Once complete, let the dye sit for 20 minutes. Remember the “this stains everything” warning? Don’t rinse while standing up in the shower or tub as it will turn brown. I recommend rinsing in the kitchen sink and washing the sink immediately after. Keep in mind, the stain is temporary and will fade over time.
Lemon juice
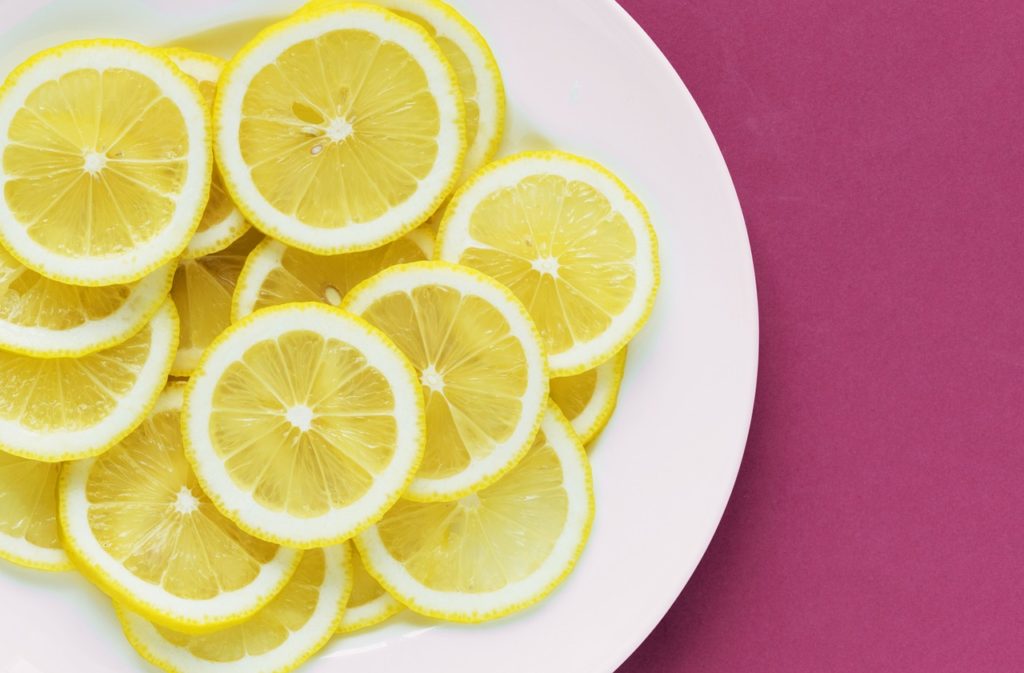
This is a good alternative for those looking to slightly lighten their hair color. If you’ve been looking for only a small change, lemon juice could be the way to go.
Why this works
This fruit is naturally acidic, which works to your advantage by stripping away the color pigments in your hair. Not only will you need lemons, you’ll need to spend some time in the sun (keep reading).
How it works
Combine 1/4 cup of lemon juice (fresh-squeezed is better) with 1 cup of your favorite conditioner and apply directly to hair. Sit in the sun for an hour or two to let the UV rays from the sun do their magic. Rinse out and see the results!
If you’re wondering, yes you’ll need the sun. This lightening process works with UV rays only, not heat – so don’t try to use the blow dryer. In addition, you’ll want to remember not to overdo it as the acid from lemons can cause dry hair.
Have you tried any of these methods to dye your hair? Let me know in the comments!
You can listen to more on all-natural hair color methods in this week’s episode of Curly Conversations Podcast:
Subscribe to our podcast on iTunes, Soundcloud and Google Play so you never miss an episode.
ALSO: SIGN UP for the ClassyCurlies’ mailing list to unlock your free 8-page ebook on healthy hair rinses.

Sign up for the ClassyCurlies Mailing List

