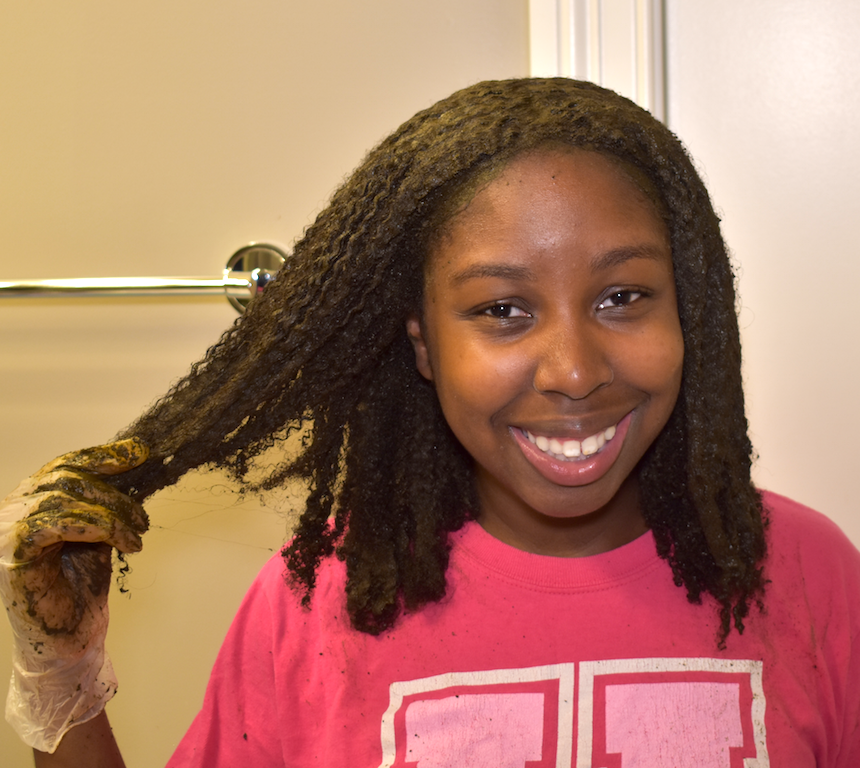
Hey Curlies,
It’s been years since I talked about wanting to include henna into my natural hair routine, and I finally got the guts to do it!
Henna is a flowering plant that produces leaves. Those leaves are then ground up into a powder, mixed with a liquid and formed into a paste. It can be used as a henna tattoo, ultra deep conditioning treatment and an all-natural way to color your hair.
Seeing as it’s a natural way to achieve great hair, I wanted to experiment.
Henna prep
I purchased 200g of henna from beautynaturalsexpress.com. This is the online shop where I get all of my clays and other hair treatments. In reality, I probably needed 300g based off of how much hair I have, but it seemed to work out.
I dumped all of my henna into a bowl and then slowly added warm water while mixing to form a paste. Some people use other liquids like aloe vera juice, coconut cream or lemon juice, but I decided to stick with the basics.
Once combined, I let the mixture sit in the refrigerator overnight.

What I was expecting
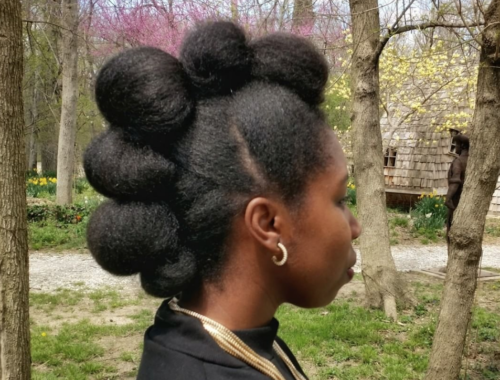
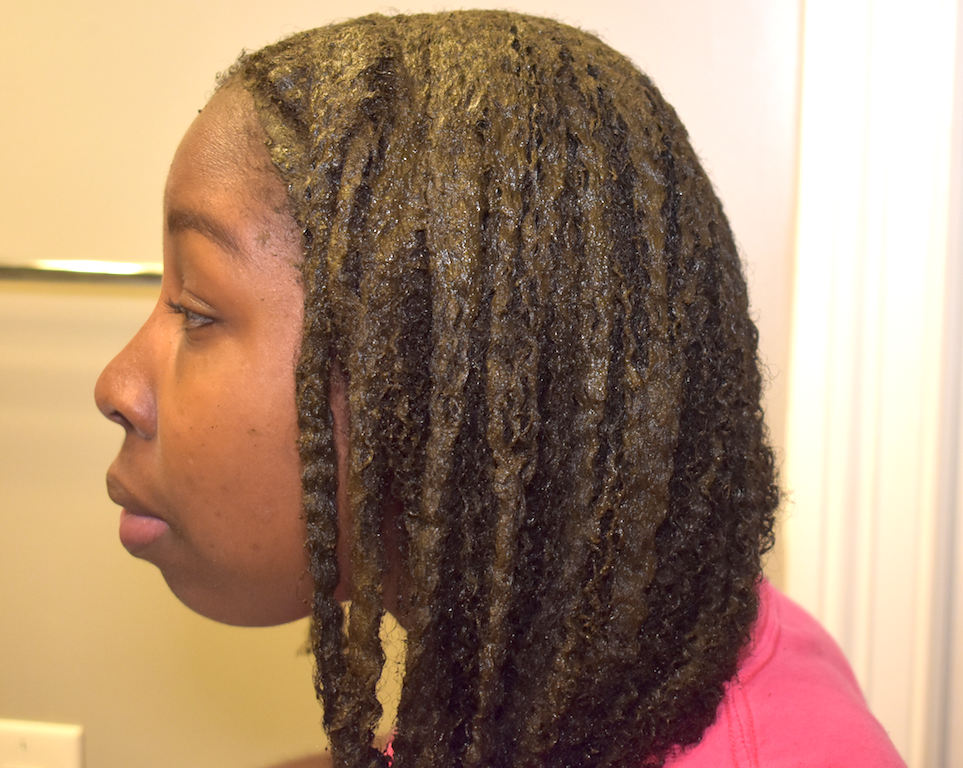
One of the reasons I hesitated to try henna in the first place was because of its color properties. I actually love the natural color of my hair and I wasn’t sure if I wanted to change it. The real reason I wanted to try henna though, was due to how strong it can make your hair which meant less breakage.
I was expecting a very slight color change but nothing dramatic. The initial color of your hair before using henna greatly impacts how much color you will see. I have very dark brown hair, so I figured I wouldn’t see much.
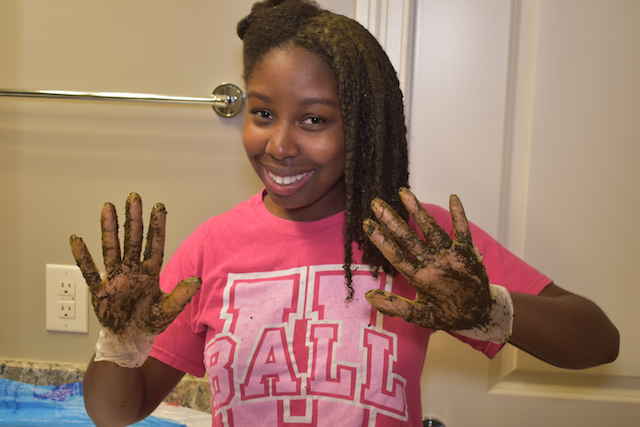
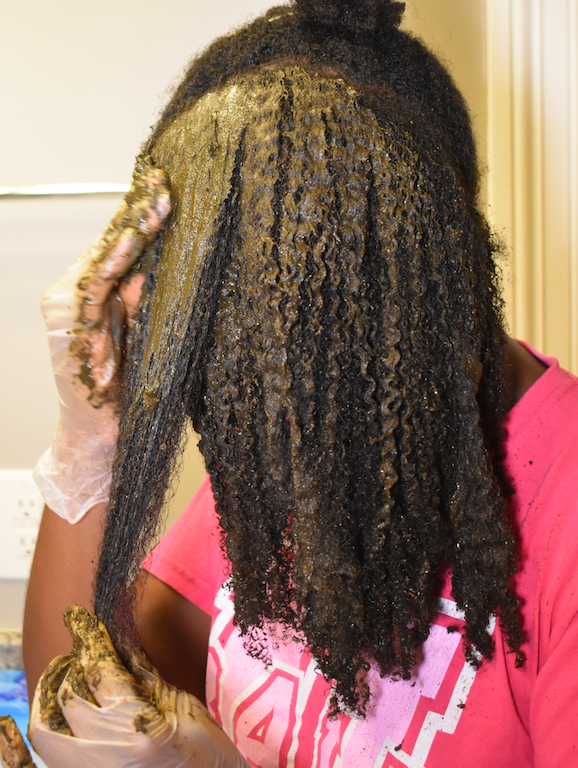
The application process
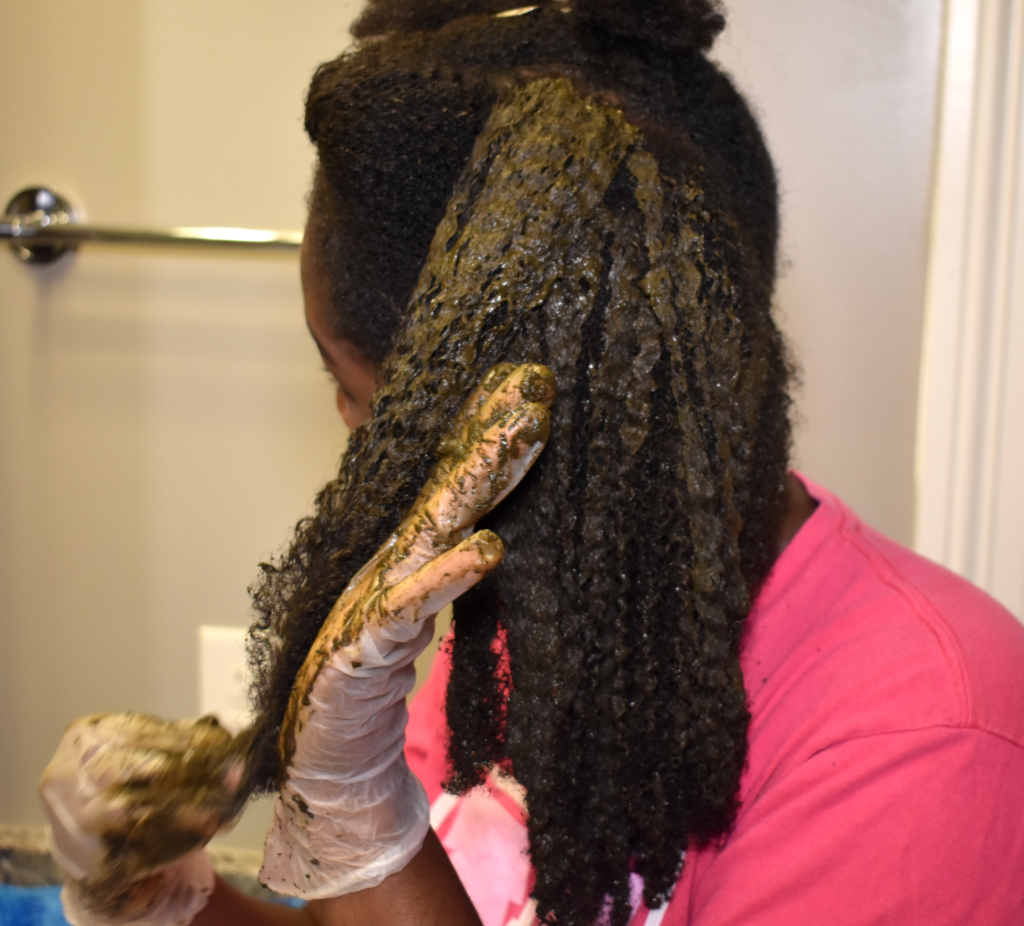
If I could explain the application process in one word, it would be “messy.” I wore an old t-shirt, put on gloves and laid newspaper down all over the bathroom. It was very similar to my cassia treatment. I applied the henna in two sections.
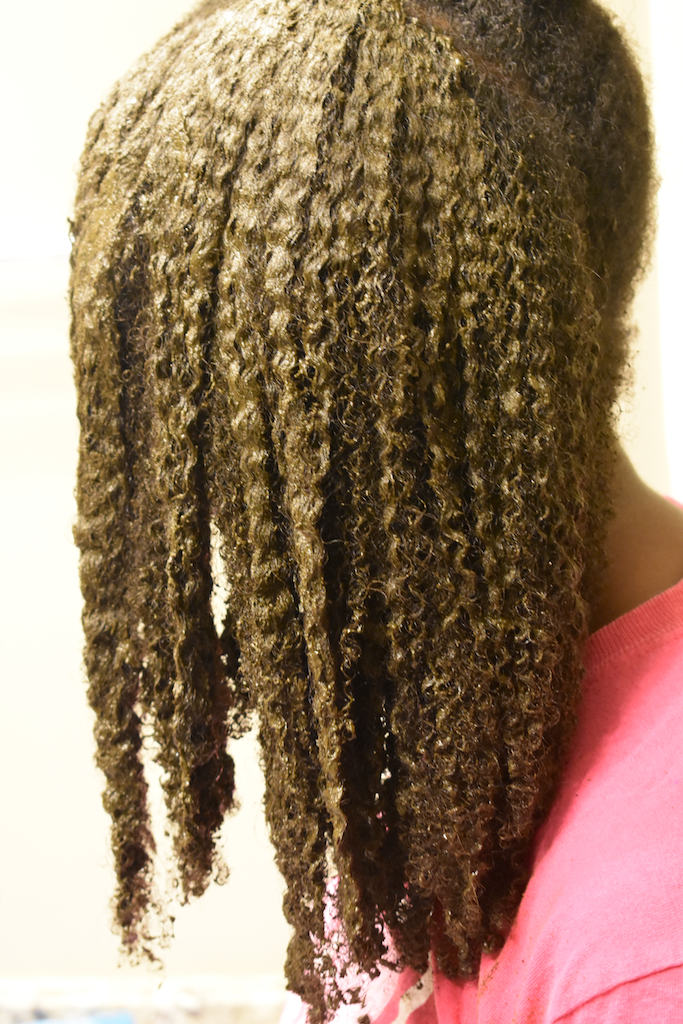
It took about 45 minutes to cover my entire head, and it was heavy! My head felt like it weighed an extra 50 pounds from the paste.
I covered my hair with a plastic cap, wrapped a towel around it and let it sit for four hours.
The rinsing process
Because this clay is so messy, rinsing it from your hair is an experience all on its own. Henna can be very difficult to remove from your hair, so here’s what I did:
- Filled one half of my kitchen double sink up with water (nearly to the brim).
- Using the spray faucet attachment, I rinsed the left side of my hair the best I could.
- Dipped the entire left side of my hair into the other half of the sink filled with water. I lightly scrubbed my scalp and continued to dip my hair to remove excess henna.
- This process was repeated on the right side of my hair
- I drained the water from the sink, filled it again with clean water, and one last time dipped both sides into the water.
So I forgot to mention, henna is great at strengthening your hair, but the process itself can leave your hair extremely dry. After rinsing out the henna, I applied a deep conditioner while using my Q-Redew. See the video on my Instagram page:
Learn more about my Henna experience in this week’s episode of Curly Conversations Podcast:
Don’t forget to sign up for our free Facebook group, Curly Conversations with ClassyCurlies.

Sign up for the ClassyCurlies Mailing List